Barcode Anatomy – Understanding Every Part of a Barcode
Barcode Anatomy – Understanding Every Part of a Barcode
A barcode may look like a series of black lines, but every part of it has a specific purpose. Understanding barcode anatomy helps you design, print, and troubleshoot barcodes that scan reliably.
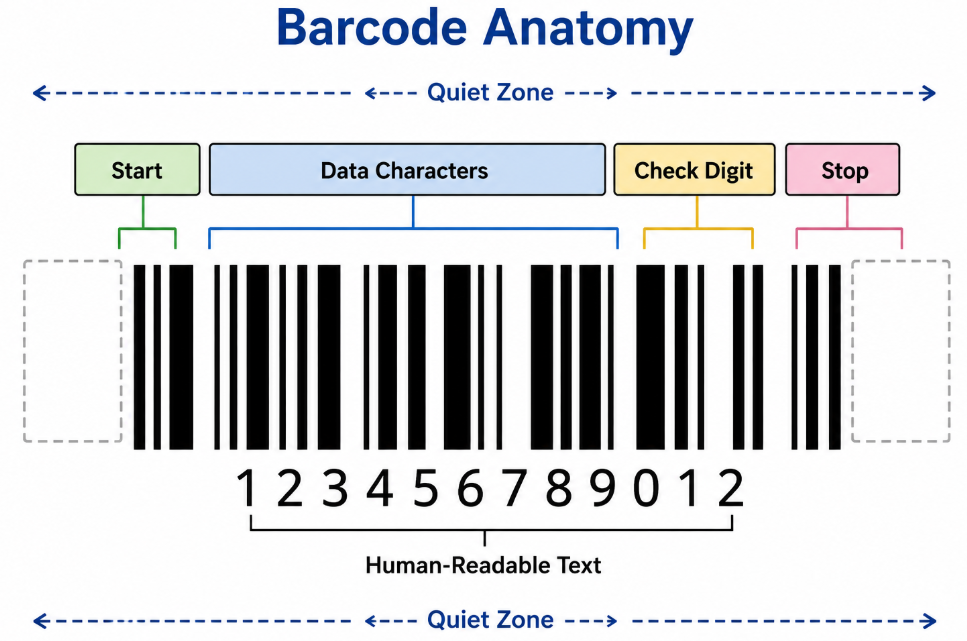
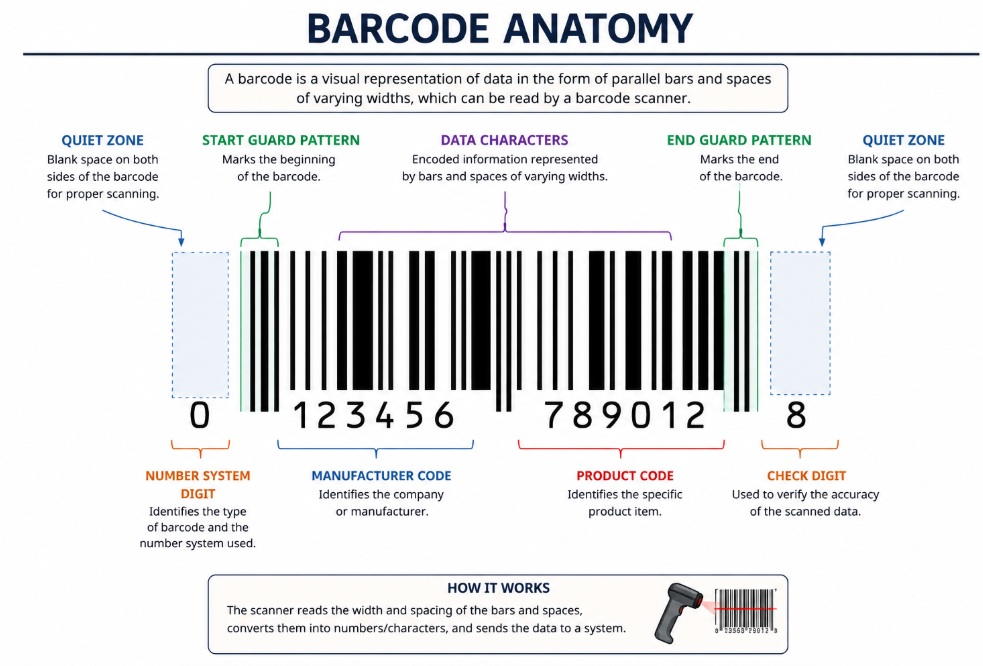
A typical linear barcode consists of six main components:
- Quiet Zone
- Start Character
- Data Characters
- Check Digit
- Stop Character
- Human-Readable Text
Each part works together to ensure accurate barcode identification.
Barcode Anatomy Diagram
1. Quiet Zone
The Quiet Zone is the blank white space before and after the barcode.
Although it contains no information, it is essential because it tells the scanner where the barcode begins and ends.
Without an adequate quiet zone, the scanner may mistake nearby text, graphics, or borders as part of the barcode.
Purpose
- Marks the beginning and end of the barcode
- Improves scanning reliability
- Prevents reading errors
Important: Never place logos, text, or graphics inside the quiet zone.
2. Start Character
The Start Character tells the scanner:
- A barcode is beginning
- Which barcode symbology is being used
- Which decoding rules to apply
Different barcode types use different start patterns.
For example:
- Code 39 uses an asterisk (*) as the start and stop character.
- Code 128 uses one of three different start codes (Start A, B, or C).
The start character is generated automatically by barcode software and normally does not need to be entered manually.
3. Data Characters
The Data Characters contain the actual information stored in the barcode.
Depending on the barcode type, this may include:
- Product number
- Serial number
- Asset number
- Part number
- Batch number
- Shipment ID
- Document ID
For retail products, the barcode usually stores only a product identification number. The computer then looks up the complete product information from a database.
4. Check Digit
Many barcode symbologies include a Check Digit.
A check digit is a mathematically calculated number added to the end of the barcode.
Its purpose is to detect scanning errors.
If the scanner reads one digit incorrectly, the calculated check digit will not match, and the barcode will be rejected instead of returning incorrect data.
Benefits
- Detects reading errors
- Improves data accuracy
- Prevents incorrect product identification
Examples of barcode types that use check digits include:
- UPC-A
- EAN-13
- GS1-128
- ITF-14
5. Stop Character
The Stop Character tells the scanner that the barcode has ended.
Without a stop character, the scanner would not know where to stop decoding the symbol.
Like the start character, the stop character is automatically generated according to the barcode symbology.
6. Human-Readable Text
Most retail and shipping barcodes include numbers printed beneath the bars.
This is called Human-Readable Text (HRT).
These numbers allow people to identify the barcode even if it cannot be scanned.
For example:
123456789012
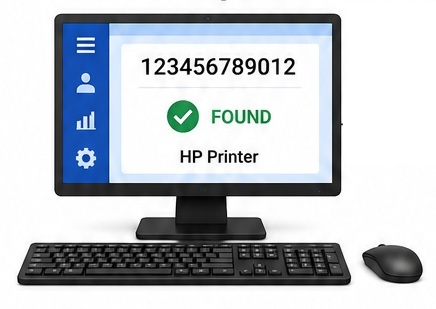
If the barcode becomes damaged, an operator can manually enter the number into the computer.
Human-readable text is strongly recommended for most product and shipping labels.
Why Every Part Is Important
Every section of a barcode has a specific function.
|
Barcode Part |
Purpose |
|
Quiet Zone |
Marks the start and end of the barcode |
|
Start Character |
Tells the scanner how to decode the barcode |
|
Data Characters |
Store the identification information |
|
Check Digit |
Detects reading errors |
|
Stop Character |
Marks the end of the barcode |
|
Human-Readable Text |
Allows manual identification if scanning fails |
Common Barcode Anatomy Mistakes
Many scanning problems occur because one or more barcode components are incorrect.
Common mistakes include:
- Missing or small quiet zones
- Truncated (cut-off) barcode bars
- Damaged human-readable text
- Incorrect barcode size
- Poor print quality
- Low barcode contrast
- Incorrect barcode symbology
These issues can make an otherwise valid barcode difficult or impossible to scan.
Best Practices
To ensure reliable scanning:
- Always leave adequate quiet zones.
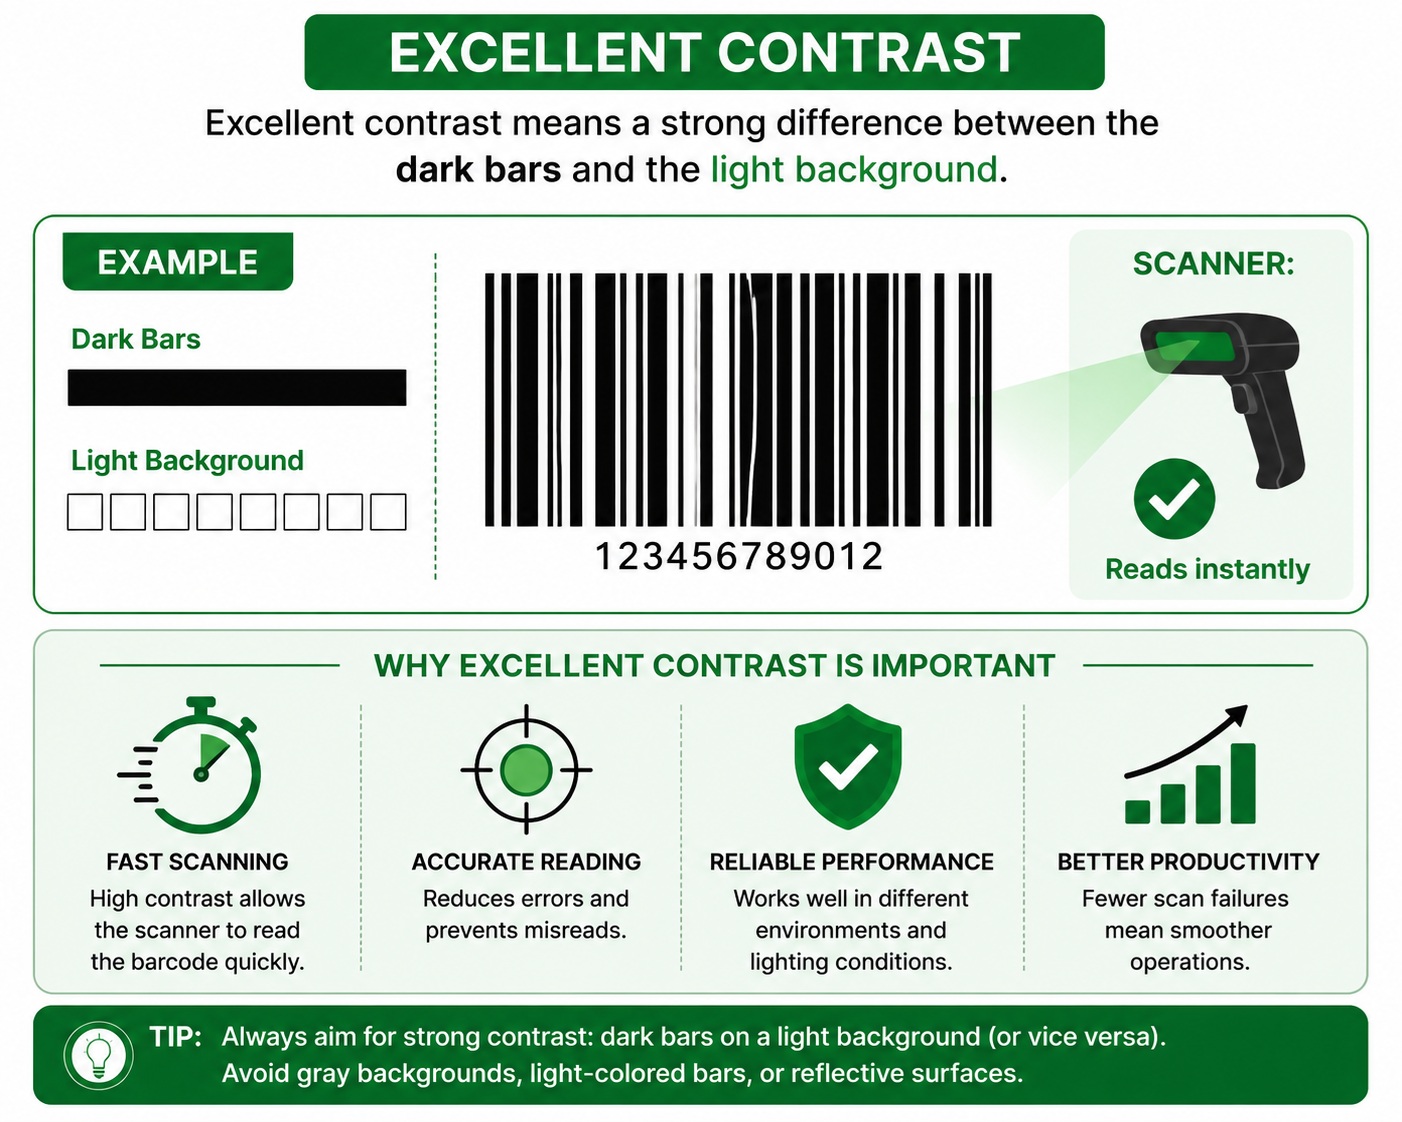
- Print barcodes with high contrast (black on white is ideal).
- Use high-quality barcode labels.
- Print at the correct size for the chosen symbology.
- Include human-readable text whenever practical.
- Verify important barcodes before use.
Conclusion
Although a barcode appears to be a simple pattern of black bars and white spaces, it is carefully structured. Every element-from the quiet zone to the stop character-plays a critical role in accurate barcode identification.
Understanding barcode anatomy helps you design better labels, troubleshoot scanning problems, and ensure reliable performance in retail, warehousing, manufacturing, logistics, healthcare, and many other barcode applications.