How to Install a Ribbon on a Zebra ZD220t Thermal Transfer Printer
Here is the updated, refined guide for the Zebra ZD220t, incorporating the technical adjustments for perfect accuracy.
How to Install Ribbon on Zebra ZD220t | Complete Installation Guide
How to Install a Ribbon on a Zebra ZD220t Thermal Transfer Printer
The Zebra ZD220t is a staple in retail, logistics, and manufacturing. Proper ribbon installation is essential for achieving sharp, durable, and professional-quality labels. Whether you are installing a ribbon for the first time or replacing an empty one, this guide will walk you through the process step-by-step.
What You'll Need
- Zebra ZD220t Thermal Transfer Printer
- Thermal Transfer Labels
- Compatible Thermal Transfer Ribbon
- Empty ribbon core (reused for take-up)
- Clean hands (to prevent printhead contamination)
Understanding the Ribbon System
Thermal transfer printing uses two consumables: Labels and Ribbon. During printing, the printhead heats the ribbon, transferring ink onto the label. This process creates labels that are scratch-resistant, moisture-resistant, and suitable for long-term outdoor or industrial storage.
Step-by-Step Installation
Step 1: Turn Off the Printer
While not strictly mandatory, turning the power off prevents accidental movement and protects the printhead during the process.
Step 2: Open the Printer Cover
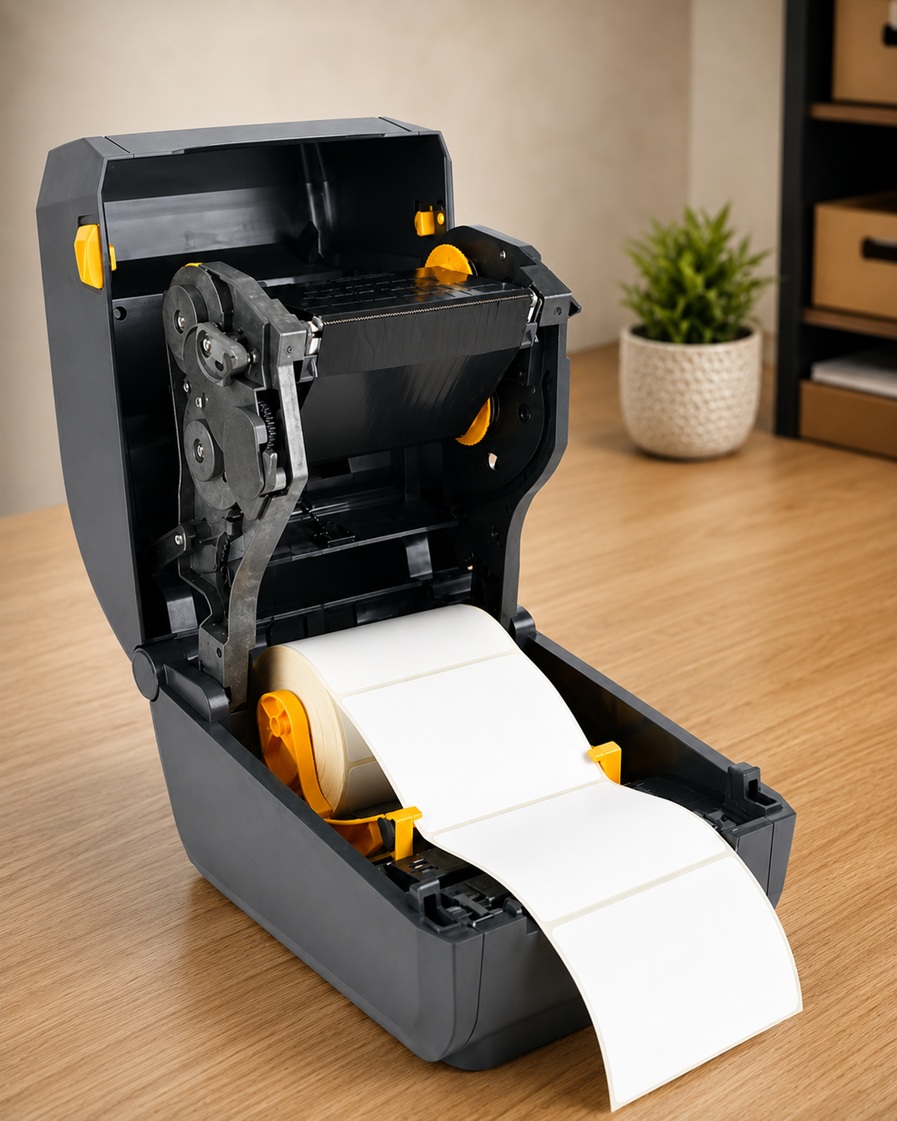
Lift the top cover completely until it clicks into the locked open position. You will see the label compartment and the two ribbon spindles:
- Lower Spindle: Ribbon Supply (holds the fresh roll).
- Upper Spindle: Ribbon Take-up (holds the empty core).
Step 3: Remove the Old Ribbon
- Remove the used ribbon roll from the upper take-up spindle.
- Remove the empty core from the lower supply spindle.
- Important: Keep the empty cardboard core; it is required for your next installation.
Step 4: Install the New Ribbon Roll
- Place the new ribbon roll onto the lower supply spindle.
- Ensure the ribbon is seated correctly so the notches align with the spindle.
- The ribbon should unwind from the top of the roll toward the front of the printer.
Pro Tip (The Adhesive Test): Zebra ZD220t printers use Coated Side Out (CSO) ribbon. If you are ever unsure, press a piece of clear adhesive tape to the inside of the ribbon. If ink sticks to the tape, that is the coated side. Ensure the coated side faces the label.
Step 5: Install the Empty Take-Up Core
Place the saved empty ribbon core onto the upper take-up spindle. Push it firmly until it locks into position.
Step 6: Attach the Ribbon
- Pull the ribbon leader from the supply roll, guiding it underneath the printhead.
- Attach the leader to the empty upper core using the adhesive strip provided on the new ribbon.
- Ensure the ribbon is centered and straight.
Step 7: Tighten the Ribbon
Rotate the upper take-up spindle until the ribbon is taut, smooth, and free of wrinkles. Proper tension prevents ribbon breakage and poor print quality.
Step 8: Check the Label Path
Verify that the labels pass directly under the printhead and that the ribbon is properly positioned between the printhead and the label surface.
Step 9: Close the Printer
Lower the printhead assembly and close the printer cover firmly until it clicks.
Step 10: Power On and Calibrate
- Turn the printer on.
- Wait for the status LED to turn solid green.
- Press the Feed button once. The printer will advance, align the ribbon, and remove any remaining slack.
Step 11: Set Printer Mode
If you previously used direct thermal labels, ensure your printer driver or software is set to "Thermal Transfer" mode. If it remains in "Direct Thermal," the printer will not recognize the ribbon.
Troubleshooting & Best Practices
|
Common Issue |
Likely Cause |
Solution |
|
Nothing is printing |
Printer is in Direct Thermal mode |
Change setting to "Thermal Transfer" in driver. |
|
Ribbon wrinkling |
Low tension or incorrect width |
Rotate take-up spindle; ensure ribbon is centered. |
|
Poor print quality |
Dirty printhead |
Clean the printhead with an alcohol swab. |
Ribbon Specifications for the ZD220t
- Max Width: 109 mm (4.3")
- Standard Length: 74 meters (244 ft)
- Core Size: 12.7 mm (0.5")
- Type: Thermal Transfer (Wax, Wax-Resin, or Resin)