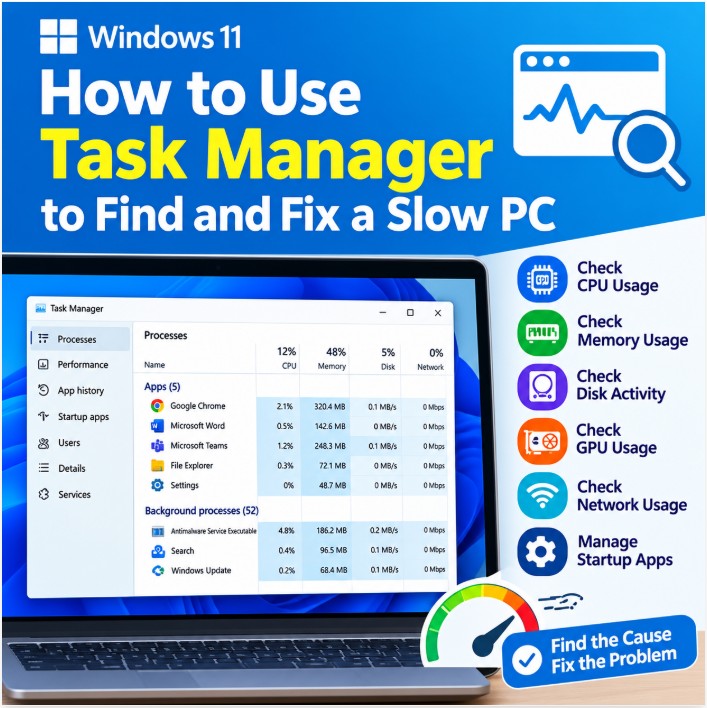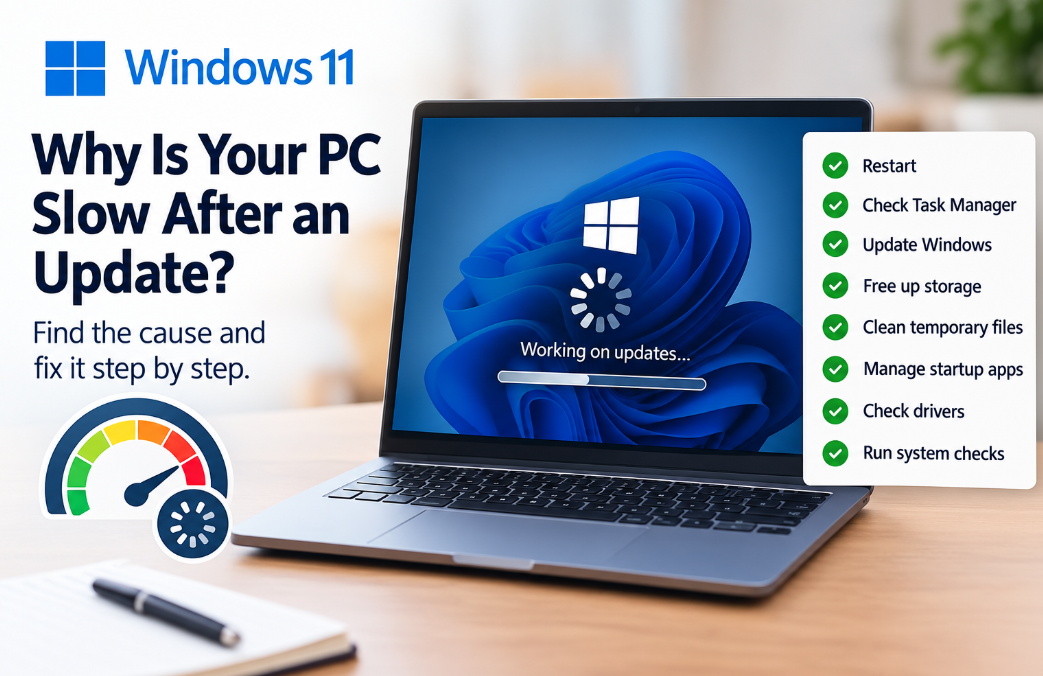
Why is Windows 11 Update Failing or Stuck ?
Step-by-Step Troubleshooting Guide
Few things are as frustrating as staring at a screen frozen at "0% completed" or watching a Windows 11 cumulative update throw cryptic error codes like 0x80070002 or 0x800f0922 right as it finishes. Whether your update is caught in an infinite loop, failing silently, or throwing error messages, this guide walks you through how to diagnose the issue and get your system up to date.
Common Culprits Behind Windows Update Failures
Before diving into the fixes, it helps to know what usually goes wrong:
- Corrupted Update Cache: Temporary download files stored in the SoftwareDistribution folder often get broken or incomplete.
- Low Disk Space: Windows 11 requires a comfortable margin of free space (ideally 15–20 GB) on your C: drive to unpack and install packages.
- Stuck Background Services: The Windows Update or BITS (Background Intelligent Transfer Service) engines occasionally freeze up.
- Third-Party Interference: Overzealous antivirus suites or strict VPNs can block connection ports required by Microsoft servers.
Step 1: Run the Built-in Windows Update Troubleshooter
Your first line of defense is the automated diagnostic tool built right into Windows 11.
- Press Windows + I to open Settings.
- Navigate to System > Troubleshoot > Other troubleshooters.
- Locate Windows Update and click Run.
- Follow the on-screen wizard and restart your computer if any automated fixes are applied.
Step 2: Clear the Corrupted Update Cache
If the update tool doesn't catch the error, your download cache is likely corrupt. Clearing out old staging files forces Windows to pull a fresh copy.
- Type cmd in your Windows search bar, right-click Command Prompt, and choose Run as administrator.
- Stop the core update services by typing the following commands and hitting Enter after each:
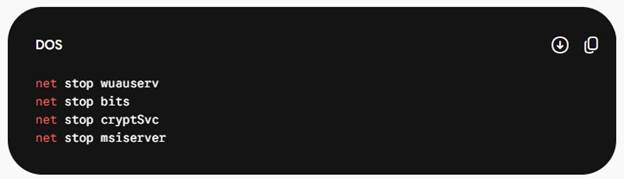
- Open File Explorer and navigate to C:\Windows\SoftwareDistribution.
- Press Ctrl + A to select all files and folders inside, then hit Delete. (Don't worry if a couple of active files refuse to delete; just skip them).
- Return to your Administrator Command Prompt window and restart the services:
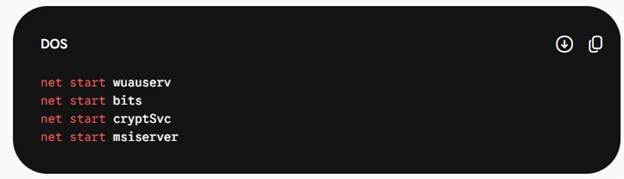
- Reboot your computer and attempt the update again.
Step 3: Repair Damaged System Files (SFC & DISM)
Missing or damaged core system files frequently trigger installation rollbacks.
- Open Command Prompt as administrator (as shown in Step 2).
- Type the following command to check and repair the system image, then press Enter:

- Once that completes, run the System File Checker utility by typing:

- Let the scan finish completely, close the window, and restart your system.
Step 4: Free Up Storage on Your C: Drive
Windows updates often fail silently or lock up if your system partition is gasping for air.
- Open File Explorer and check your Local Disk (C:) capacity.
- If you have less than 15–20 GB of free space, run Disk Cleanup (search for it in the Start menu) to clear out old temporary files, previous Windows installations, and Recycle Bin items.
- Alternatively, uninstall unused apps or offload media files to secondary storage.
Step 5: Temporarily Disable Third-Party Antivirus or VPNs
Some third-party security software mistake the massive data streams of a Windows update for malicious behavior.
- Pause or temporarily uninstall third-party antivirus utilities (Windows Defender will handle your background safety in the interim).
- Disconnect from any active VPN tunnels that might reroute or drop Microsoft server packets, then retry the update.
Alternative: Manually Install the Update
If Windows Update refuses to cooperate through the Settings app, you can bypass it entirely by downloading the patch manually from the Microsoft Update Catalog. Simply copy the specific KB number giving you trouble (e.g., KB5124008), search for it on the catalog website, download the standalone installer file matching your system architecture, and run it directly.