Label Printer Won't Print? A Complete Troubleshooting Guide
Thermal Label Printer Troubleshooting Guide
A professional technician workflow to diagnose and resolve label printer issues in minutes.
Nothing is more frustrating than clicking Print and watching your label printer do absolutely nothing. Whether you're using a Zebra, Honeywell, TSC, SATO, Citizen, Toshiba, GoDEX, or another thermal label printer, the causes are usually very similar. The good news is that most printing problems can be solved quickly using this systematic technician process.
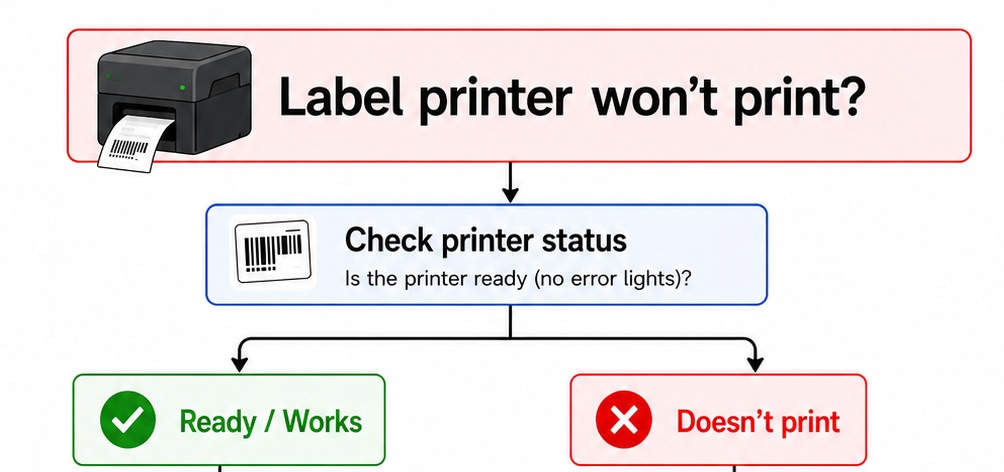
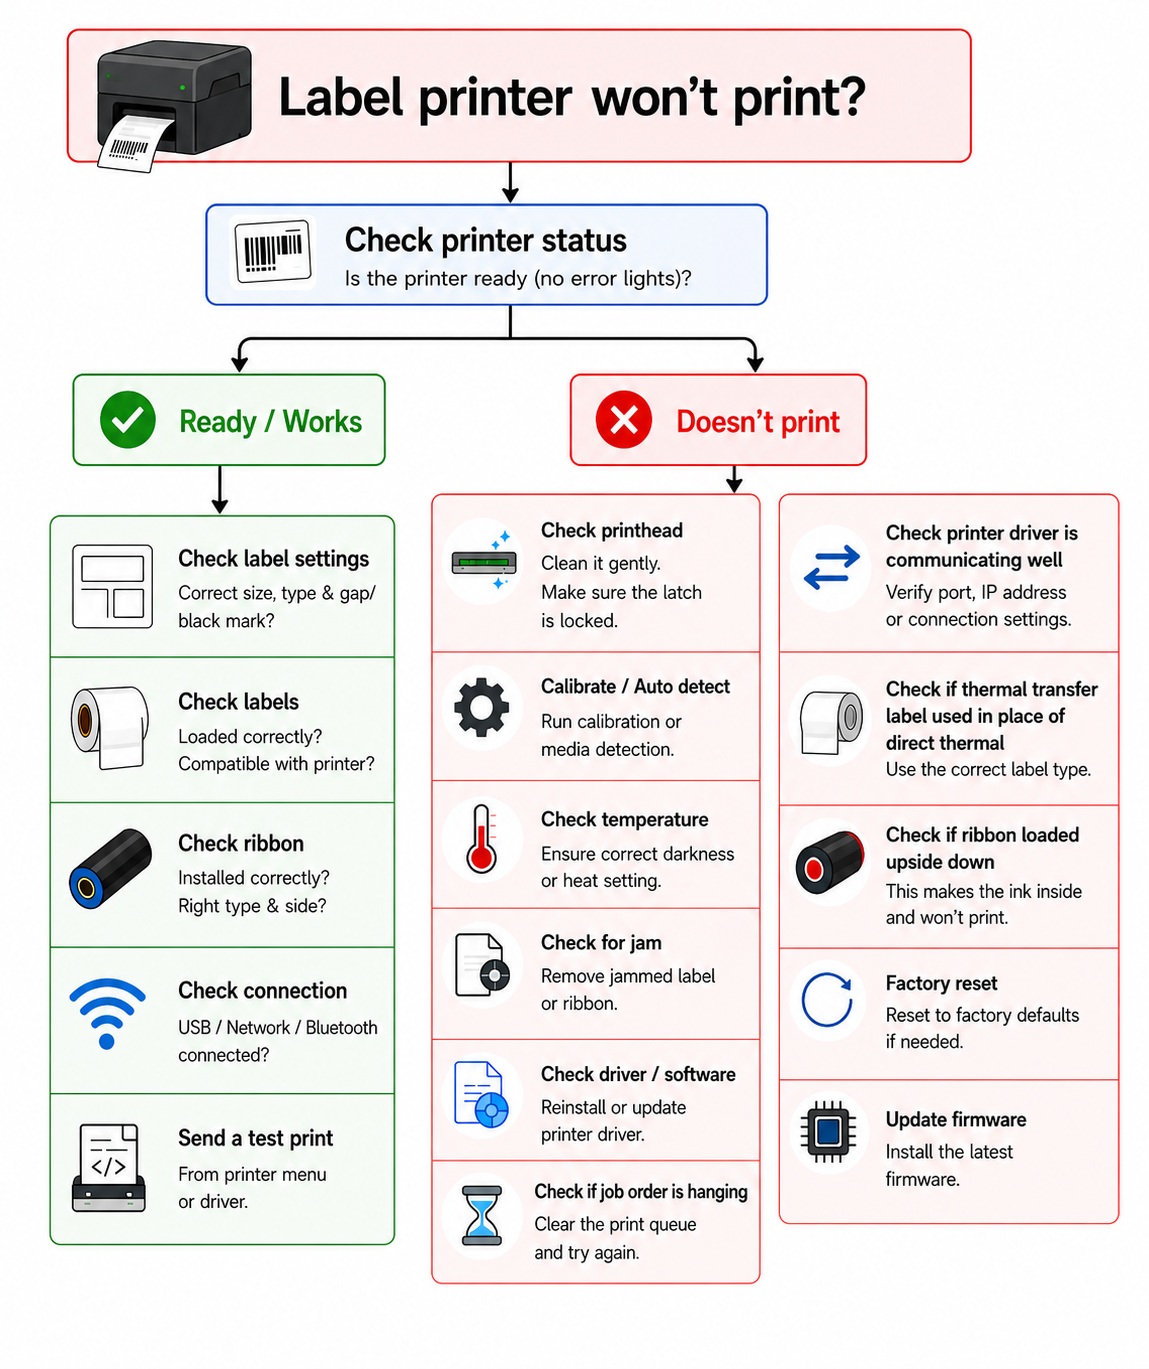
Step 1 - Check Printer Status
Before looking at software or labels, check the physical printer itself. Ask yourself:
• Is the power LED ON?
• Are there any red error lights?
• Is the printer showing: Paper Out, Ribbon Out, Head Open, Pause Mode, Error Status
Action: If the printer displays an error, fix that first before troubleshooting the computer or drivers.
Step 2 - Print a Self-Test Label
Most barcode printers can print a self-test directly from the hardware without a computer connection.
• If the self-test prints correctly: The printer hardware is working fine. The problem lies within the Windows driver, application software, print queue, or communication port.
• If the self-test does not print: Continue with the hardware checks below.
Step 3 - Check Label Installation
Incorrectly loaded media is one of the most common causes of printing failures. Verify that:
• Labels are installed in the correct orientation/direction.
• The media rolls match the printer's physical specifications.
• The label width matches the driver and printer settings.
• The label gap or black mark is properly detected by the media sensor.
Improper loading may cause the printer to stop feeding, slip, or print misaligned.
Step 4 - Check the Label Type
Many users accidentally install the wrong media type for their application setup:
• Direct Thermal Labels: Heat-sensitive face stock that turns black when heated. No ribbon is required.
• Thermal Transfer Labels: Require a dedicated ribbon to transfer ink onto the label surface. Without a ribbon, nothing appears.
⚠️ Common Mistake: Using thermal transfer labels in a direct thermal printer (or printing without a ribbon on a thermal transfer printer) produces completely blank labels because the label face stock does not react directly to heat. Always verify media material first.
Step 5 - Check Ribbon Installation
If you're using a thermal transfer printer, verify the following:
• Ribbon is installed correctly and follows the proper threading path.
• Printhead latch/mechanism is fully and securely closed.
• Ribbon is not torn and maintains proper tension.
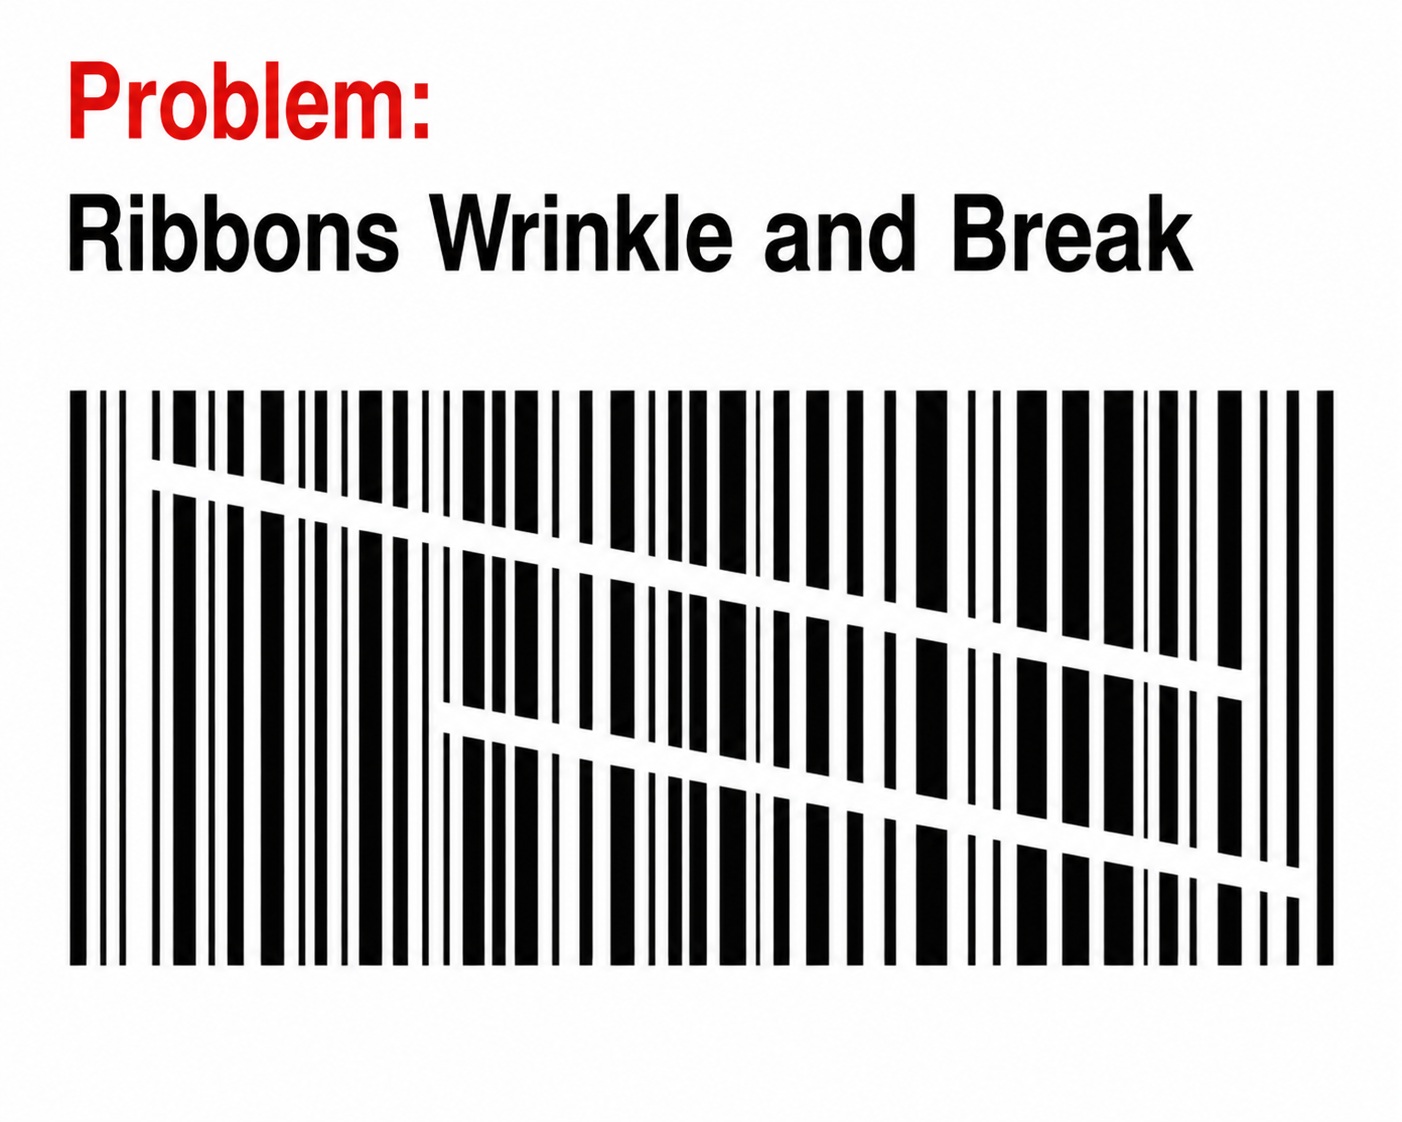
⚠️ Very Common Mistake: Installing the ribbon upside down. The ink-coated side must face directly toward the label face stock. If installed backwards, the printhead heats the wrong side and nothing prints. Use a quick fingernail scratch test to confirm the ink side.
Step 6 - Clean the Printhead
Dust, adhesive residue, and paper lint gradually build up on the printhead element over time, causing:
• Blank labels or missing print
• Faded print or light spots
• White horizontal lines running down the label length
Cleaning Tools: Use Isopropyl alcohol (IPA), a printhead cleaning pen, or a lint-free swab. Never use sharp objects or metal tools to clean the printhead.
Step 7 - Perform Media Calibration
The printer must accurately learn where each individual label starts and ends. If calibration is out of sync, you may experience blank labels, continuous feeding, skipped labels, or printing across multiple labels.
Action: Run your printer's Auto Calibration, Media Detection, or Sensor Calibration utility according to your manufacturer model.
Step 8 - Check Darkness and Print Speed
Printing too fast or with insufficient heat (darkness) may produce faint, unreadable, or invisible text.
• Gradually increase darkness within the manufacturer's recommended operational range.
• Avoid excessive heat settings, which can prematurely shorten printhead lifespan.
Step 9 - Check for Label or Ribbon Jams
Open the printer bay and thoroughly inspect for torn label stock, adhesive buildup on rollers, ribbon wrapped around spindles, pieces of liner stuck inside, or foreign debris blocking the optical media path.
Step 10 - Check for Label or Ribbon Jams
Open the printer bay and thoroughly inspect for torn label stock, adhesive buildup on rollers, ribbon wrapped around spindles, pieces of liner stuck inside, or foreign debris blocking the optical media path.
- Stuck Labels on the Head: Sometimes labels get stuck on the printhead or nearby surfaces, physically preventing the printhead from making proper contact with the label surface.
Step 11 - Check the Print Queue
Sometimes the printer is healthy, but Windows is holding a failed or stuck print job. Symptoms include nothing printing despite the printer appearing online, and jobs remaining permanently in the queue.
Action: Open Devices and Printers → Open Print Queue, clear stuck jobs, and restart the Windows Print Spooler service if queues refuse to clear.
Step 11 - Verify Printer Driver Communication
If the computer driver cannot communicate with the printer hardware, jobs will fail instantly:
• USB: Ensure cable is securely connected; test a different USB port or replace the cable.
• Network: Verify correct static IP address, ensure printer responds to a ping, and check selected Windows network port.
• Bluetooth: Verify pairing status and ensure no other device is hogging the connection.
Step 12 - Check Driver Settings
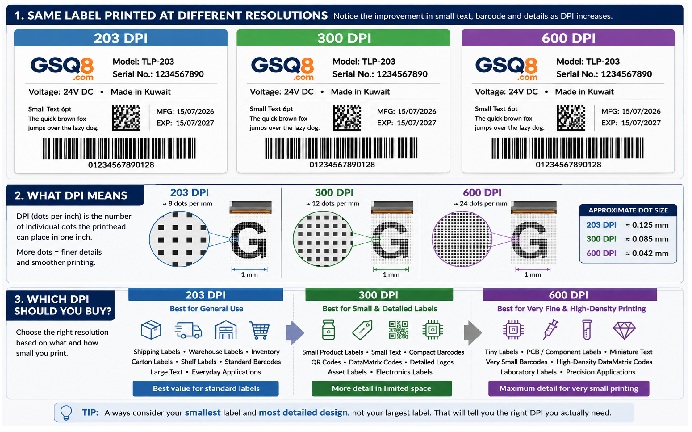
Incorrect driver configurations cause blank labels, cropped text, or misaligned formatting. Verify label dimensions, orientation, DPI settings (203, 300, or 600 dpi), print method, speed, and darkness values.
Step 13 - Update Printer Firmware
Manufacturers regularly release firmware updates to resolve communication bugs, sensor improvements, and compatibility issues. Install updates only from official support channels and never power off during flashing.
Step 14 - Factory Reset (Last Resort)
If all troubleshooting steps fail, perform a factory reset to restore default communication, media sensors, and configuration parameters. Always run media calibration immediately after resetting.
Quick Troubleshooting Checklist
|
Problem Symptom |
Primary Check / Solution |
|
Nothing prints at all |
Printer ready status / Error indicator lights |
|
Blank labels output |
Correct label type and media path |
|
Blank thermal transfer labels |
Ribbon installed correctly (ink side facing label) |
|
Printer feeds continuously |
Calibrate media sensor / Gap detection |
|
Printer detected but doesn't print |
Print queue / Windows Print Spooler service |
|
Jobs disappear immediately |
Driver communication and port configuration |
|
Missing print or white lines |
Clean printhead thoroughly with IPA swab |
|
Wrong label size / Misaligned |
Driver stock page settings and dimensions |
|
Random communication errors |
Update printer firmware and driver package |
|
Still not printing |
Perform factory reset and recalibrate media |
Preventive Maintenance Tips
• Clean the printhead regularly after every few rolls of labels.
• Use high-quality, approved label stock and ribbons.
• Store spare label rolls in a cool, dry environment away from direct sunlight.
• Keep the media path completely free of adhesive buildup.
• Perform media calibration whenever changing to new label dimensions.
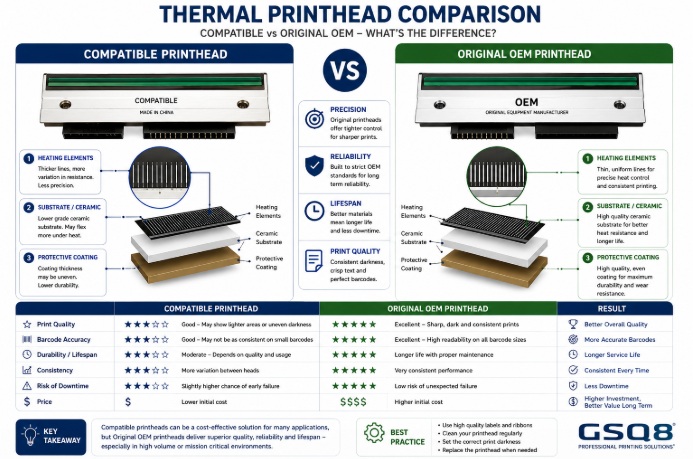
• Replace worn printheads and rubber platen rollers when print degradation occurs.
• Keep printer firmware and Windows drivers up to date.
Frequently Asked Questions (FAQ)
A. Why is my label printer feeding labels but not printing?
This is commonly caused by using thermal transfer labels without a ribbon, an upside-down ribbon installation, a dirty printhead, or incorrect darkness settings.
B. Why is my printer printing blank labels?
Check the label type first. Direct thermal labels require no ribbon, while thermal transfer labels require a correctly installed ribbon with the ink side facing the label.
C. Why are my print jobs stuck in Windows?
A paused or corrupted print queue can prevent new jobs from printing. Clear the queue and restart the Print Spooler service if necessary.
D. Can a dirty printhead stop printing?
Yes. Dirt or adhesive on the printhead can prevent heat from transferring properly, resulting in blank or incomplete labels.
E. Should I update printer firmware?
Yes. Firmware updates often improve stability, compatibility, and communication. Always use firmware provided by the printer manufacturer.
Conclusion
When a label printer won't print, the problem is often something simple: an incorrect label type, a ribbon installed the wrong way, a stuck print queue, or a communication issue. By following the troubleshooting steps in this guide-from checking the printer's status and media to verifying drivers and updating firmware-you can resolve most printing problems quickly without replacing parts unnecessarily.
If the issue persists after completing all the checks, the printer may require professional servicing or replacement of worn components such as the printhead or platen roller.